Company Logo
DocEndorse
Help
Get Started Get Started
Home Help Blog
  • Getting Started
    • Account Opening
    • Purchasing A Plan
    • Set Up Account
    • Adding A Digital Signature and Initials
    • Setting Permissions
    • Sending Your First Document Out For Signature
    • Self-Signing A Document
    • How A Recipient Signs A Document
    • How Does This Work
  • General
    • Managing Notifications
    • Handling PDF Copies
    • Customize date format and time zone
    • Set Up Branding
    • Set Acceptable Signature Types
    • How To Upload Documents
    • Password Protect Signing
    • Requesting Signer Attachments
    • Adding An Attachment To Requests
    • Ewitnessing A Document
    • Getting Documents Signed In Person
    • Tracking E-sign Requests
    • Handling Audit Trails For E-signatures
  • Users and Teams
    • Creating A Team
    • Invite New Users
    • Inviting New Team Members
    • Inviting New Members To A Sub-team
    • Sharing Documents With Team Members
  • Productivity
    • Creating A Template
    • Using A Template
    • Send Bulk Signature Request
  • Handling The Editor
    • Adding Object Fields
    • Resize, Remove, and Move Object Fields
    • Sign, Date, or Initial a Document
    • Setting Editor Layout
    • Approve or Disapprove A Document
    • Responsiveness of the Editor
    • Live Search Document
    • AI Powered Field Detection
  • Integrations
    • Integrations
    • Google Workspace Integration (DocEndorse Connect)
    • Connect With Office 365
    • Signing/Redacting Documents Within Microsoft Outlook
  • Collecting Payments
    • Connecting to Your Bank Account
    • Managing Your Payment Transactions
    • Preparing Documents To Collect Payments
    • Setting Up payments On Your Account
  • Managing Contacts
    • Adding A Contact
    • Editing or Deleting A Contact
  • Reports And Analytics
    • Get Reports
  • Managing Subscriptions
    • Managing Your Subscriptions
    • Cancelling Your Subscriptions
    • Updating Your Subscriptions
    • Updating Your Payment Method
  • Redact Documents
    • How to Redact A Document
    • Quickly Find and Redact Text
  • Managing Documents
    • Managing Your Documents
  • Using The Ai Agent
    • About Our AI Agent
    • Our Document Intelligence
    • Using the Ai E-sign Assistant

Set Up Branding

If you have a corporate/advanced account, and have administrative access you are able to apply customised branding to your communications with signatories and team members. This is done using a combination of settings available on our platform.

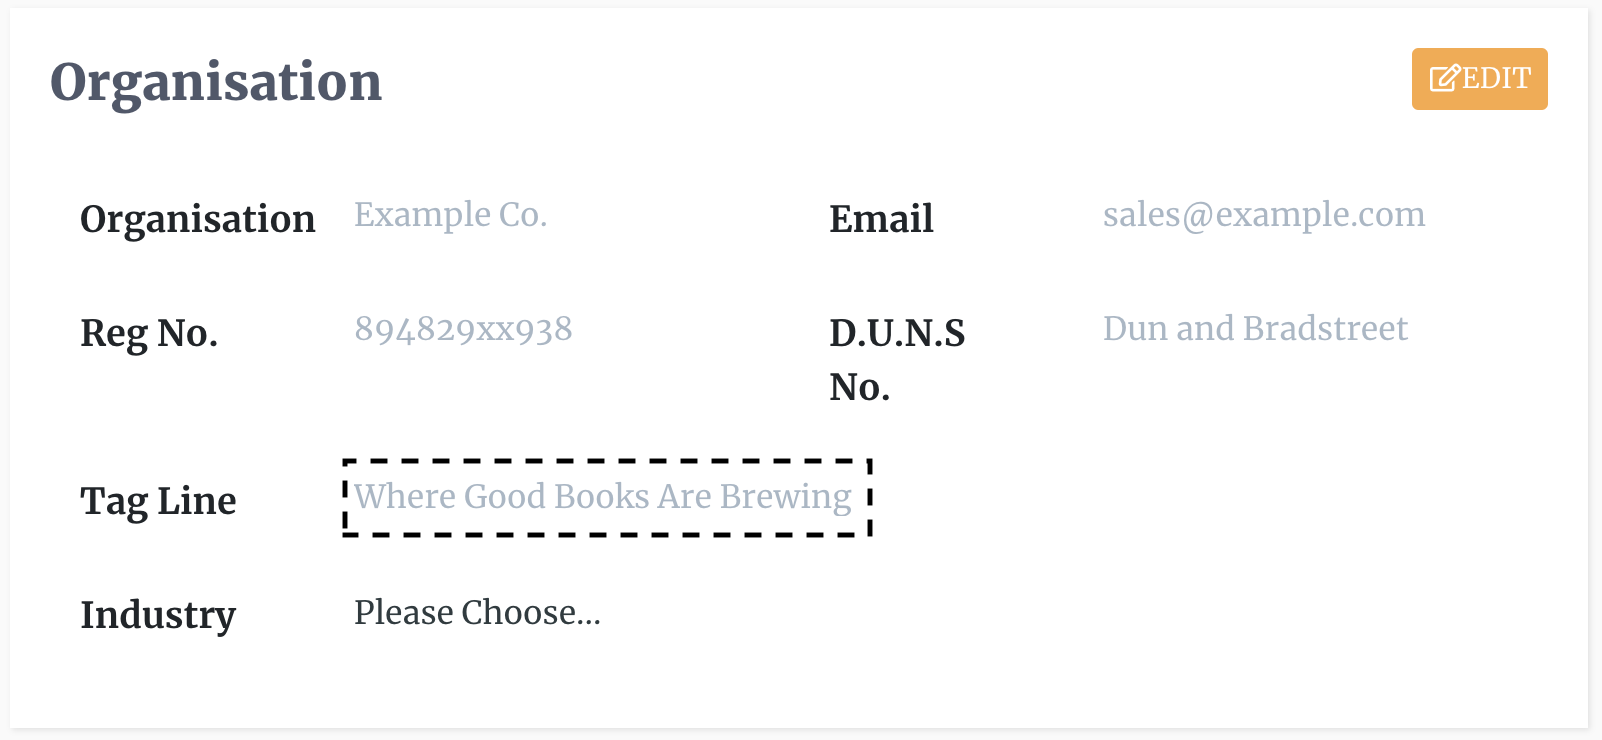
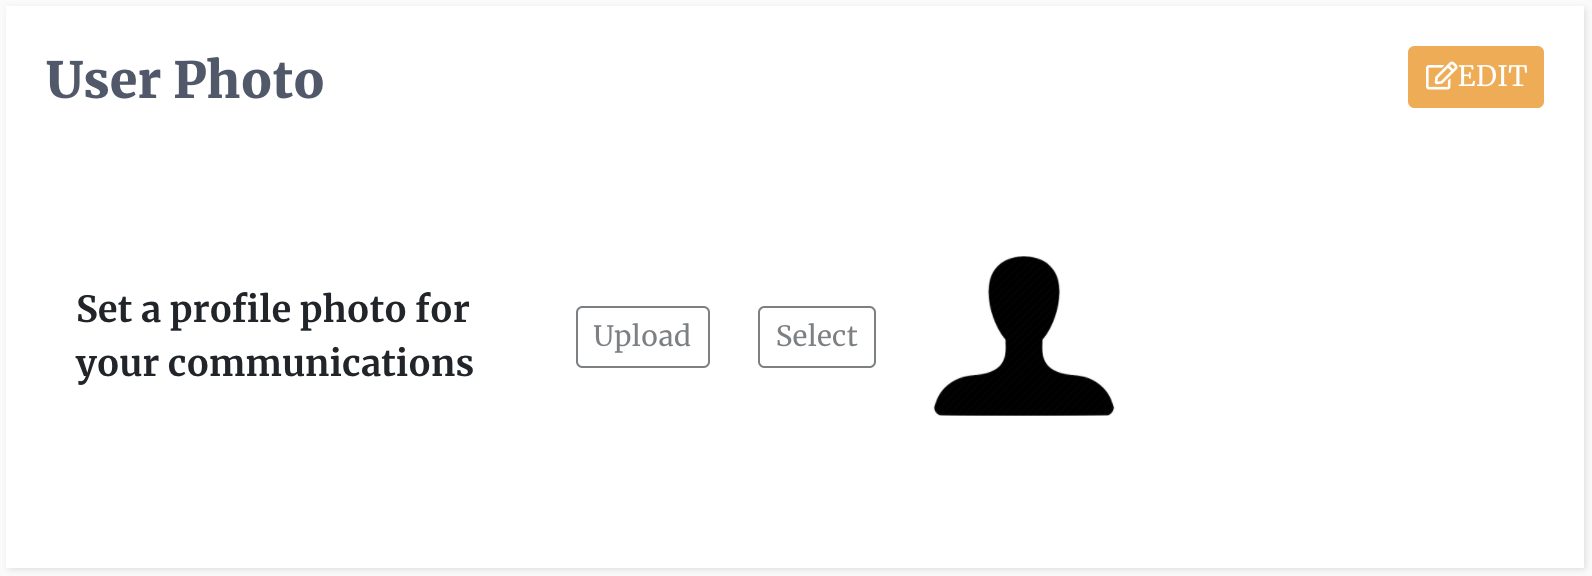
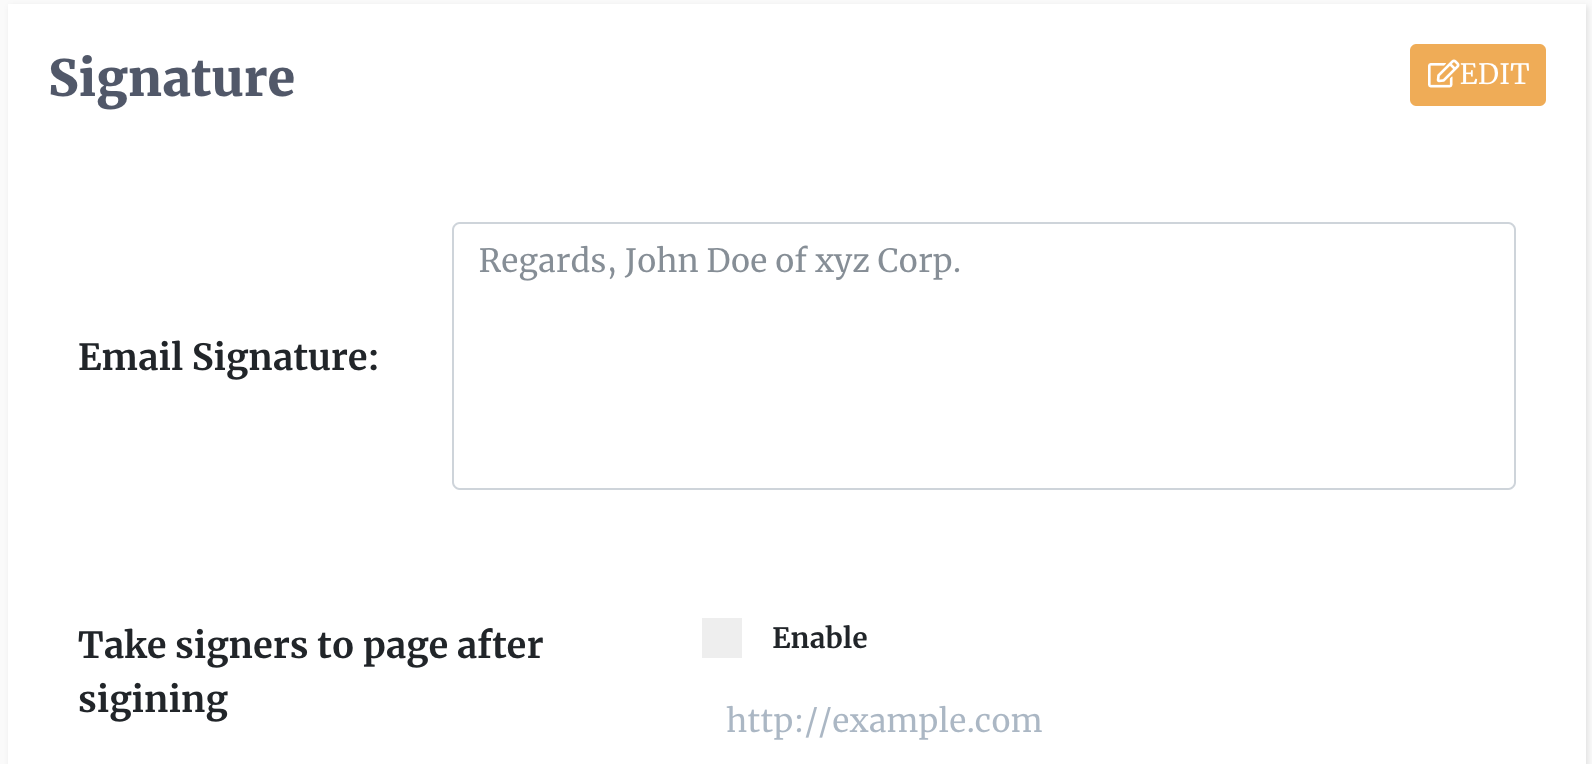
You must login to your DocEndorse account and then go to Settings -> General -> Account and locate the "Branding" pane to upload a logo for your company. You can also set a tag line or a motto. By going to Settings -> General -> Profile and scrolling down to the "User photo" pane you can upload a professional profile photo. Finally, you can also set a customized signature that is attached at the end of emails in this section.

In you need a fully customised email template for your e-sign invites, just contact customer support and we will facilitate this.

The combination of account settings if altered will change the following:

  • The appearance of emails sent on behalf of your account. Your company logo if changed will appear on all email communications, as well as your profile picture, and your professional bio.
  • The way the editor appears when opened by people with access to your account and your signatories. Your profile picture and your title will be visible in the editor.
  • The signatory authentication page will also show your name, profile picture, and your logo.

Image Tag Line Image User Photo Image Email Signature Image Company Logo

Company Logo

Whether you're handling 10 documents or 10,000, our AI-powered signing assistant will save you time, reduce errors, and close loops faster.

© DocEndorse. All Rights Reserved

Connect with us:
Facebook Twitter

Product

Pricing
Features
Book a demo
E-sign For Free
Integrations

Resources

Legal
Compliance
Help Center
Blog

About

Contact
Privacy
Terms