Company Logo
DocEndorse
Help
Get Started Get Started
Home Help Blog
  • Getting Started
    • Account Opening
    • Purchasing A Plan
    • Set Up Account
    • Adding A Digital Signature and Initials
    • Setting Permissions
    • Sending Your First Document Out For Signature
    • Self-Signing A Document
    • How A Recipient Signs A Document
    • How Does This Work
  • General
    • Managing Notifications
    • Handling PDF Copies
    • Customize date format and time zone
    • Set Up Branding
    • Set Acceptable Signature Types
    • How To Upload Documents
    • Password Protect Signing
    • Requesting Signer Attachments
    • Adding An Attachment To Requests
    • Ewitnessing A Document
    • Getting Documents Signed In Person
    • Tracking E-sign Requests
    • Handling Audit Trails For E-signatures
  • Users and Teams
    • Creating A Team
    • Invite New Users
    • Inviting New Team Members
    • Inviting New Members To A Sub-team
    • Sharing Documents With Team Members
  • Productivity
    • Creating A Template
    • Using A Template
    • Send Bulk Signature Request
  • Handling The Editor
    • Adding Object Fields
    • Resize, Remove, and Move Object Fields
    • Sign, Date, or Initial a Document
    • Setting Editor Layout
    • Approve or Disapprove A Document
    • Responsiveness of the Editor
    • Live Search Document
    • AI Powered Field Detection
  • Integrations
    • Integrations
    • Google Workspace Integration (DocEndorse Connect)
    • Connect With Office 365
    • Signing/Redacting Documents Within Microsoft Outlook
  • Collecting Payments
    • Connecting to Your Bank Account
    • Managing Your Payment Transactions
    • Preparing Documents To Collect Payments
    • Setting Up payments On Your Account
  • Managing Contacts
    • Adding A Contact
    • Editing or Deleting A Contact
  • Reports And Analytics
    • Get Reports
  • Managing Subscriptions
    • Managing Your Subscriptions
    • Cancelling Your Subscriptions
    • Updating Your Subscriptions
    • Updating Your Payment Method
  • Redact Documents
    • How to Redact A Document
    • Quickly Find and Redact Text
  • Managing Documents
    • Managing Your Documents
  • Using The Ai Agent
    • About Our AI Agent
    • Our Document Intelligence
    • Using the Ai E-sign Assistant

Send Bulk Signature Request

To send an e-signature request to between 10 and 300 people at a time, you must first go to the hub page then click "Bulk Signature request" (if not visible, use the green menu button at the top right the page to open a fly over menu) and then follow a 3-step Bulk request workflow that begins with:

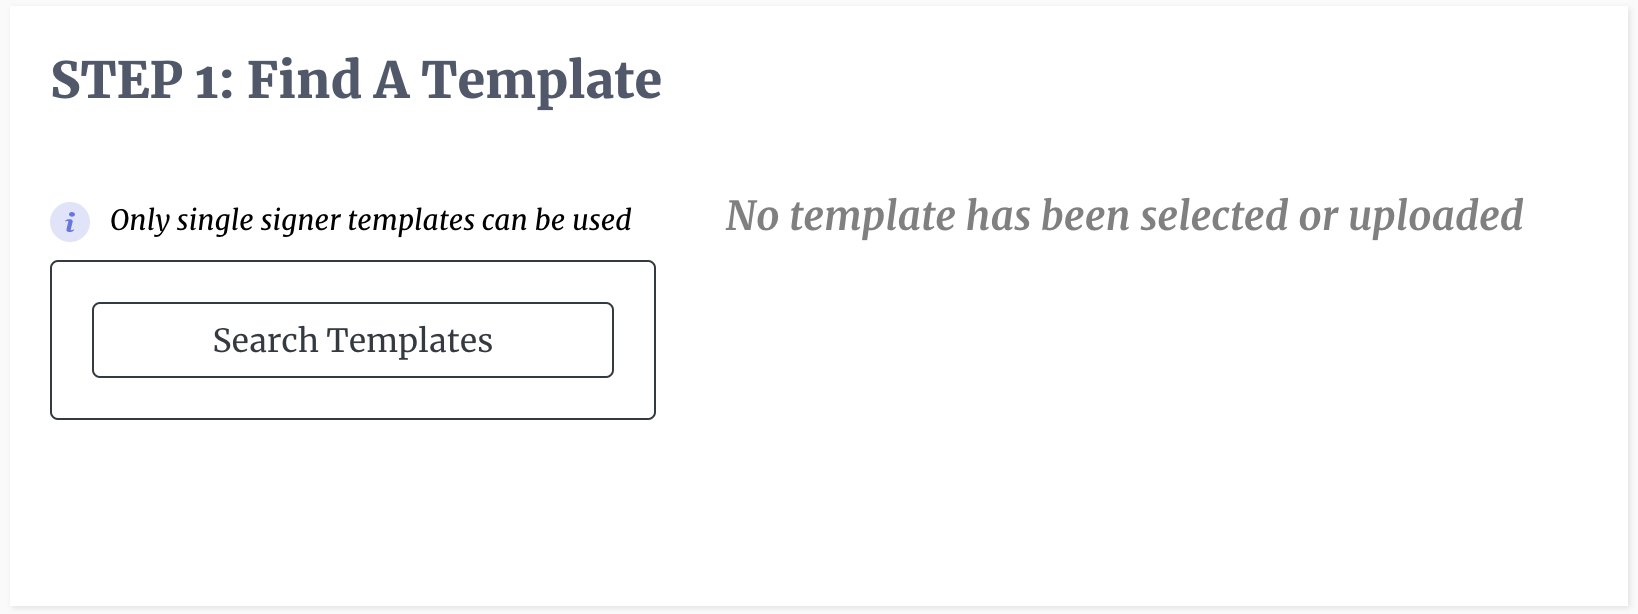
  1. Finding and loading a single-signer template that was previously created. A single-signer template is required, which is a template that requires only one recipient to sign or provide data. This process will load template details that will be used to automatically create the signature request. Find Single Signer Templates

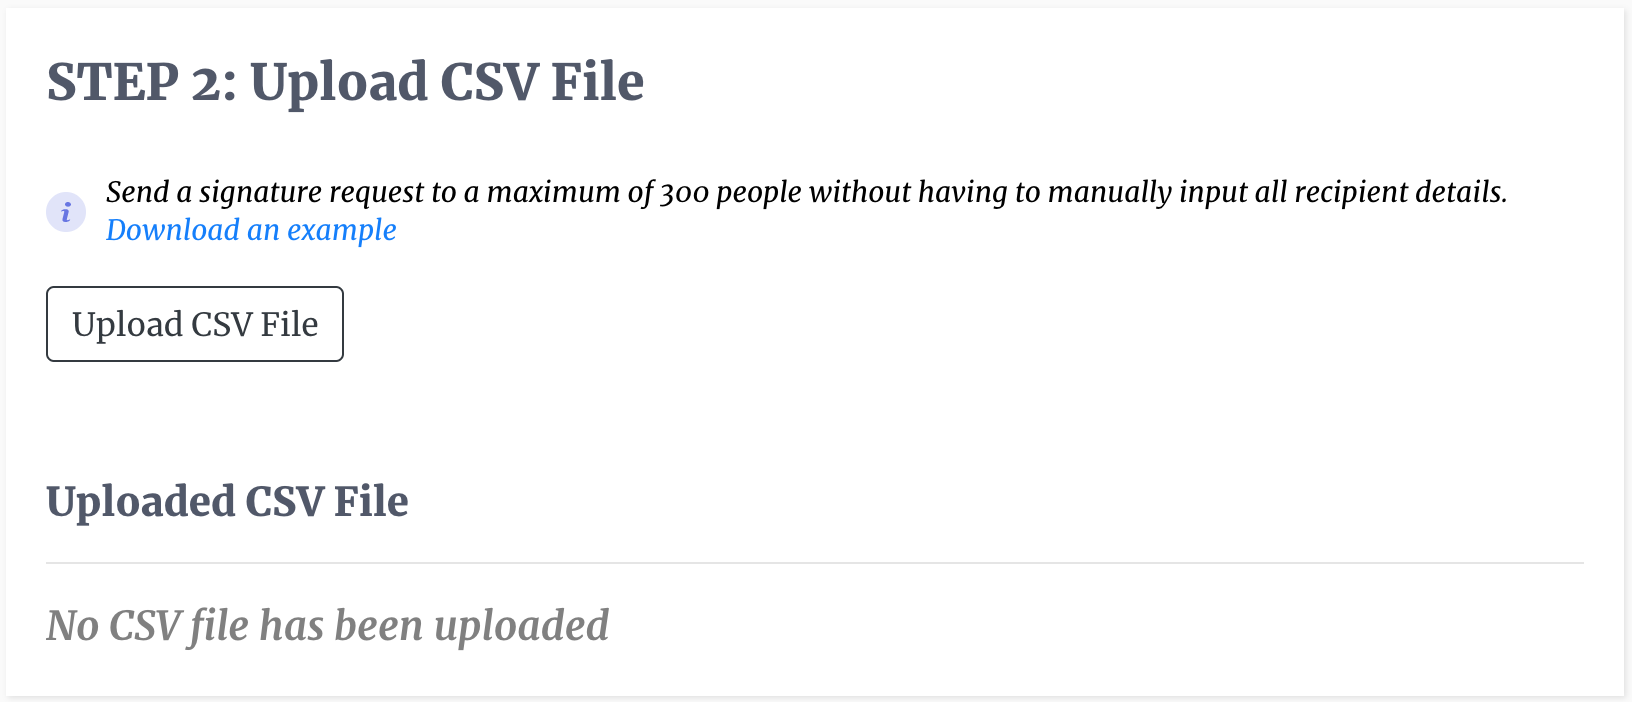
  2. You will then load a CSV file containing the names and email addresses of all the recipients who will review the document(s). The CSV file should contain two columns and an optional third column. The first entry of the first column should be "full_name," and the rest of the first column should have the full name of all recipients. The first entry of the second column should be "email_address", and the rest of the second column should have the email addresses of the recipients. Load CSV file

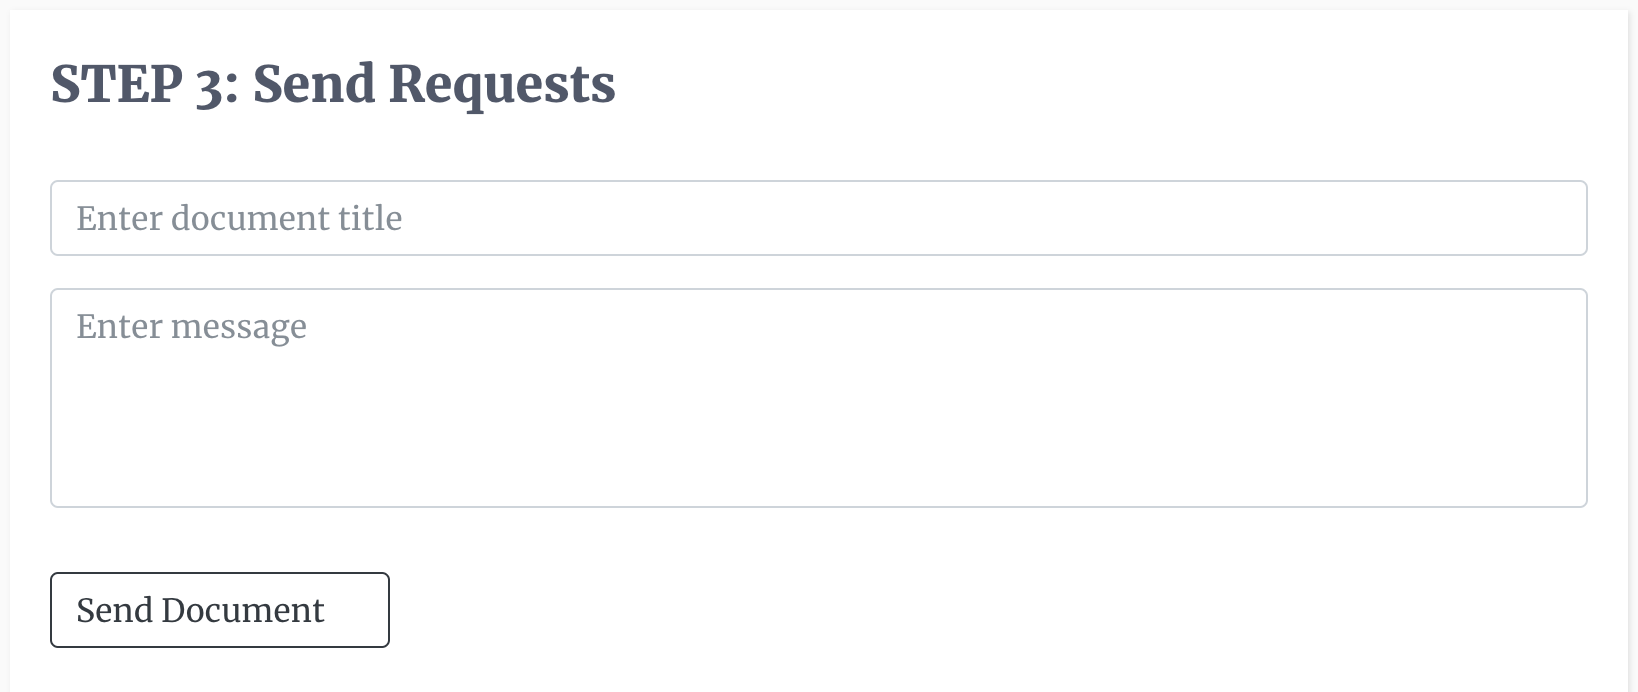
  3. Finally, you review the title and the message associated with the template and adjust if necessary, then send out the signature requests.
    Send Bulk Requests

You can also use the AI E-sign agent to send out a bulk e-sign request by going loggin into the DocEndorse website and navigating to the hub, and entering any variation of the following prompt:

  • "I want to send an e-sign request to 10 people using template 'NDA agreement' "
  • "I want to send an e-sign request to 50 people."
  • "Please send an e-sign request to 30 people with this template 'NDA Agreement' "

Keep in mind that the AI E-sign agent also requires a single signer template to send e-signatures in bulk.

If you are using a third party chat assistant you would enter the same instructions in the chat window and follow the asistant's guide. Keep in mind that you will need to login to the third party chat platform before you can execute commands.

Company Logo

Whether you're handling 10 documents or 10,000, our AI-powered signing assistant will save you time, reduce errors, and close loops faster.

© DocEndorse. All Rights Reserved

Connect with us:
Facebook Twitter

Product

Pricing
Features
Book a demo
E-sign For Free
Integrations

Resources

Legal
Compliance
Help Center
Blog

About

Contact
Privacy
Terms