Sending Your First Document Out for Signature
To send a document out for signature you really have two options, you can use the legacy workflow or you use the AI e-signature assistant who will walk you through the process.
To use the legacy workflow, you must first login to the DocEndorse website and then go to the hub page, then click on "Get a document signed". If this option is not visible at the hub page you can use the green menu button at the top right part of the page to open a fly over menu where you should be able to click "Get a document signed" button. This will load the e-signature request workflow. From there, sending a signature request is a simple 4-step process:
-
Find the document that you want to sign or that you want others to sign. It is important to note that the user can upload multiple documents and have them sent out for signature.
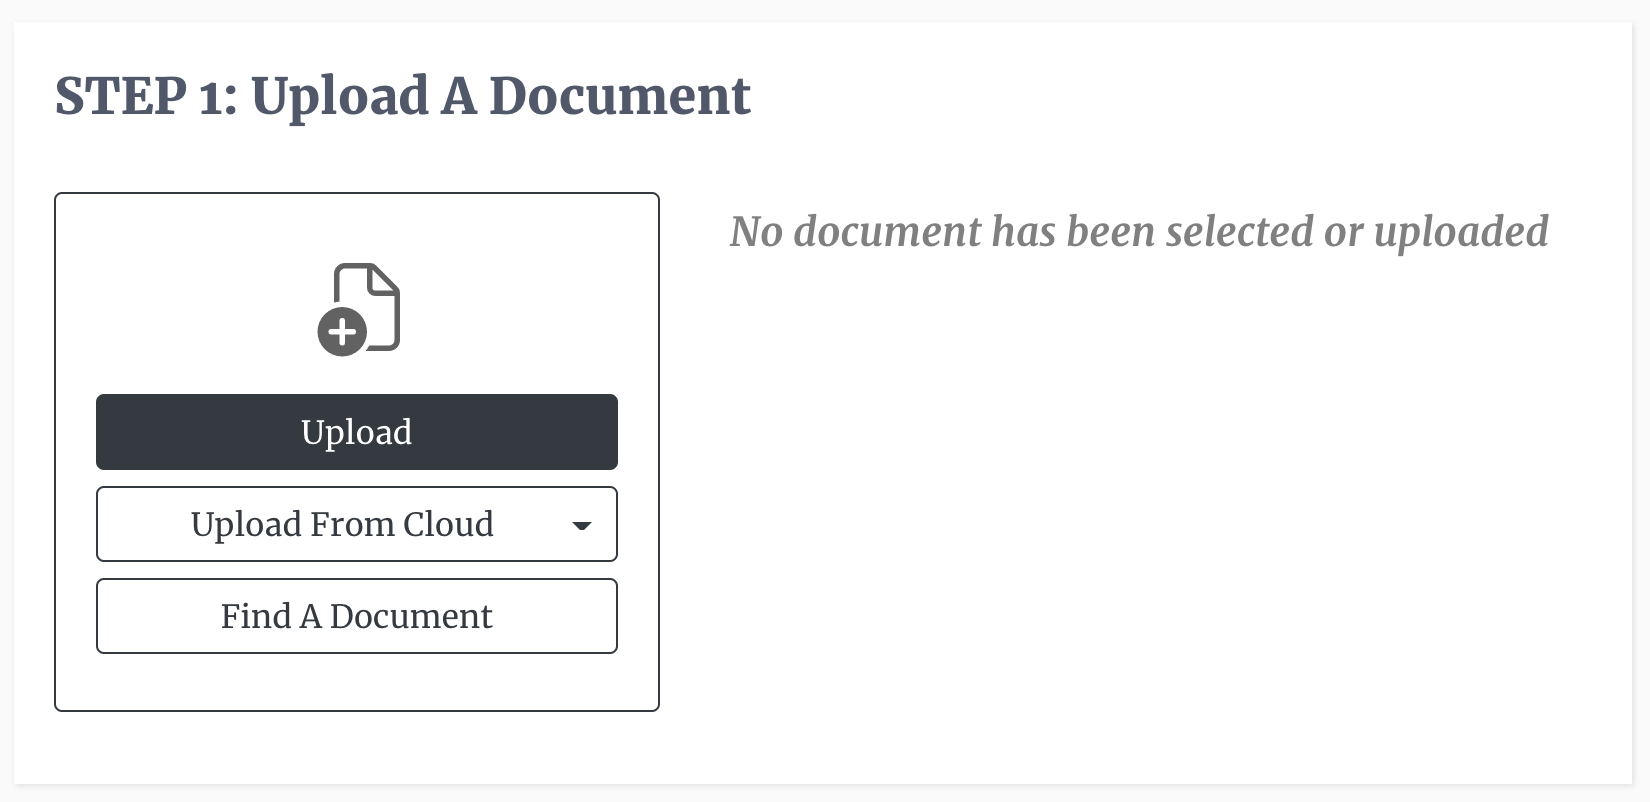 We have a number of alternatives that you can use to get the document you desire. The user can choose documents that have been:
- Directly uploaded from their mobile or desktop computer
- Uploaded before but not signed.
- Uploaded to a third-party cloud provider such as Google Drive, OneDrive, Box, or Dropbox (see How To Upload Documents).
-
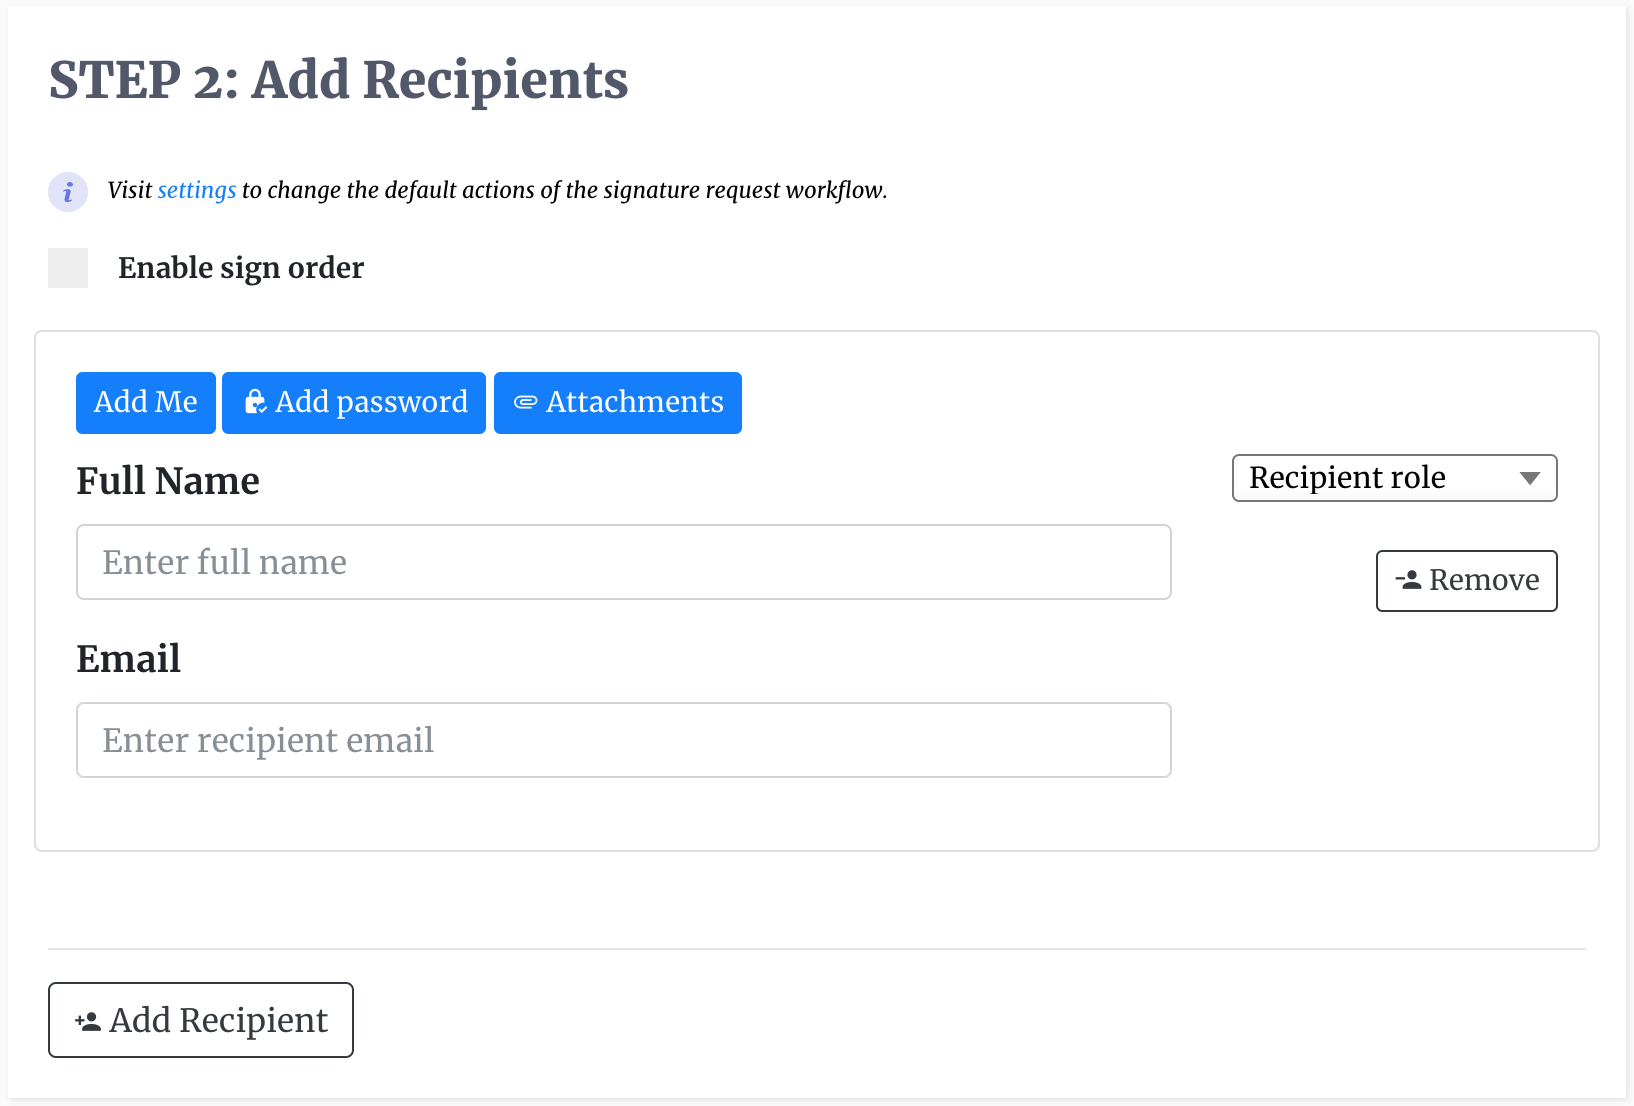
Name the recipients that you want to view or sign the document(s). You'll have to enter the name and email address, and determine whether the recipient in question must sign, fill only, or be carbon copied during the process. The user is also able to set the sign order, which allows them to determine who should sign first, second, third, and so on. There is also the option to "Password Protect" the signing process, which makes it impossible for the signer to access the document without first entering a password. If the you desire, you can also request that the recipient provide additional documentation such as an ID or a driver's licence before they sign the document. See Uploading Signer Attachments.
-
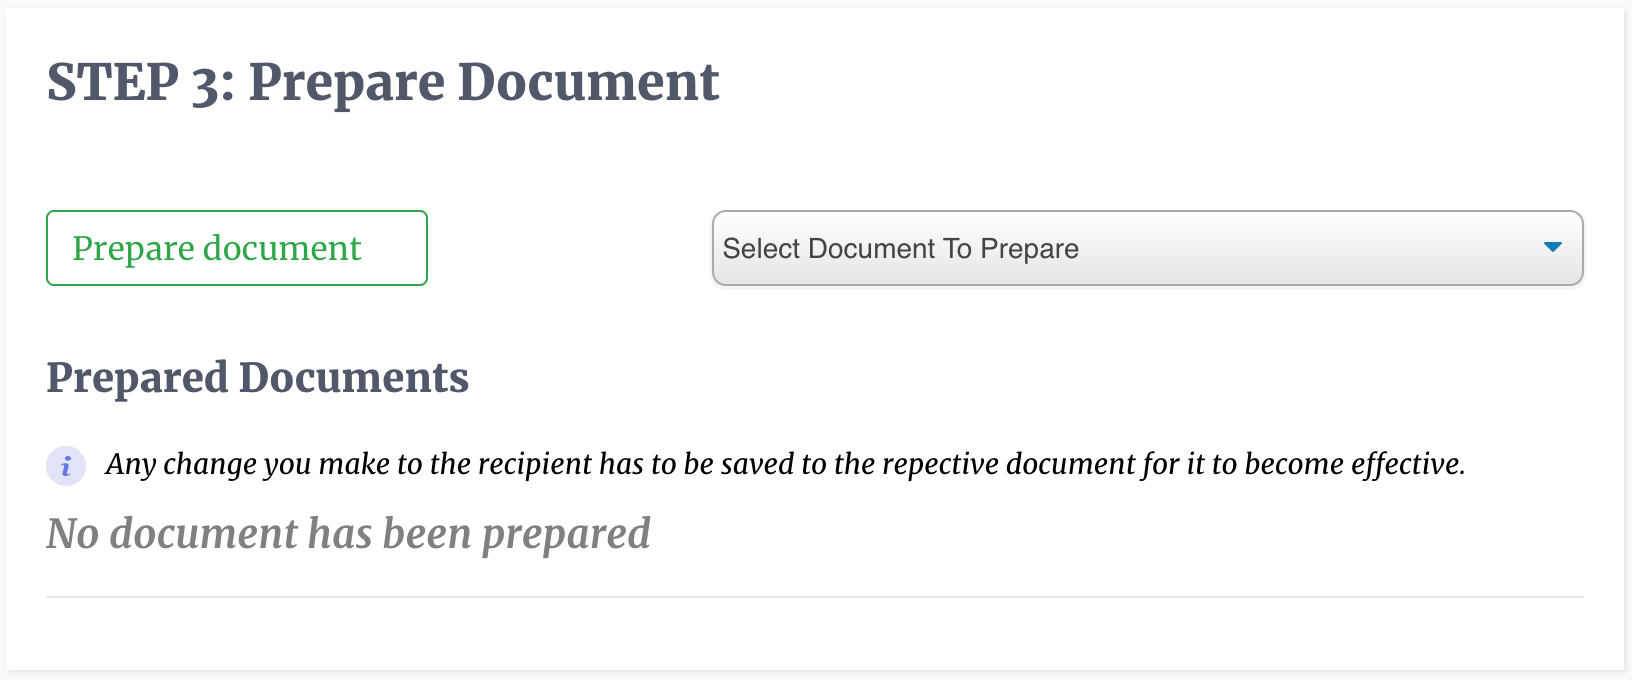
Prepare the document for the data you expect to get from the signatory and/or data that you want to be in the document when it is presented to recipients. In this section you select the document that you want to edit, which will launch DocEndorse's editor. Using the editor you highlight areas of the document that you want the signer to edit. You must then save all the changes and then close the editor. The modified document should then show up under Prepared Documents with a green tick.
-
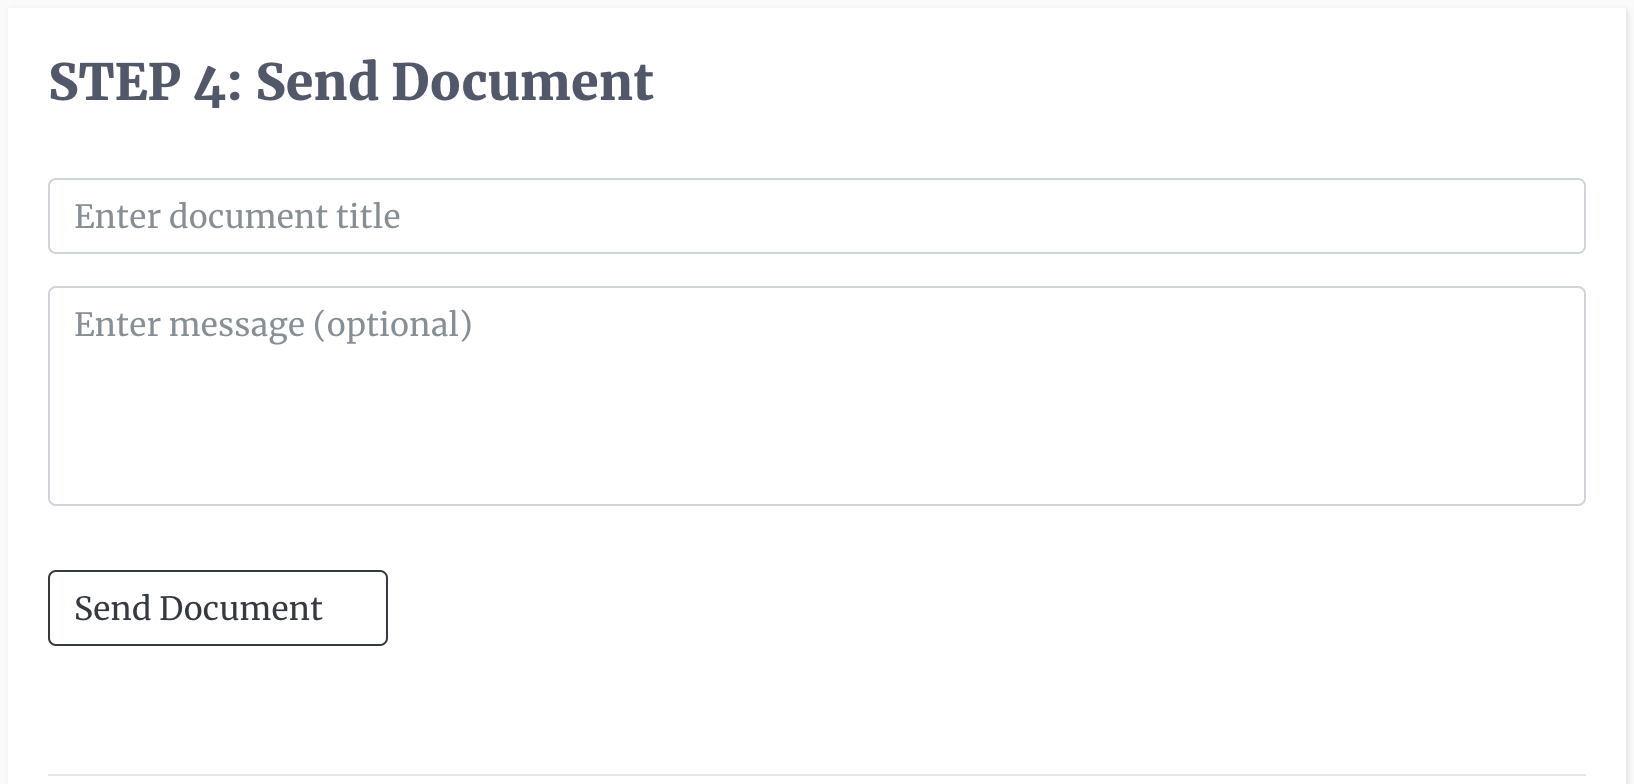
Enter a unique title for the signature request and a message to be sent to each recipient if needed. The user then sends out the document for it to be signed, viewed, or edited by the recipients.
If you use our AI e-signature assistant, it would guide you through this process step by step, while significantly reducing the work you have to do. It will find the contact details of the recipients mentioned, search your document library for any documents mentioned, automatically search the document for the fields you should edit, assign fields to the recipient, search for roles in the document among other things. It will even create a message for you if you ask. You can say a prompt like:
- "Send the document 'Rental Agreement' to John Clark by email. Remind him every 2 days until he completes the agreement".
- "Send an e-signature request to Ricardo"
- "Send an e-signature request to Damion, and create a custom message to send along with the e-signature request"
Our AI e-signature assistant is available from our hub page on the DocEndorse website, or from third party chat platforms such as Microsoft Teams or Slack. If you are using the AI assistant from a third party chat platform you must login there.
Whether you're handling 10 documents or 10,000, our AI-powered signing assistant will save you time, reduce errors, and close loops faster.
© DocEndorse. All Rights Reserved
Resources