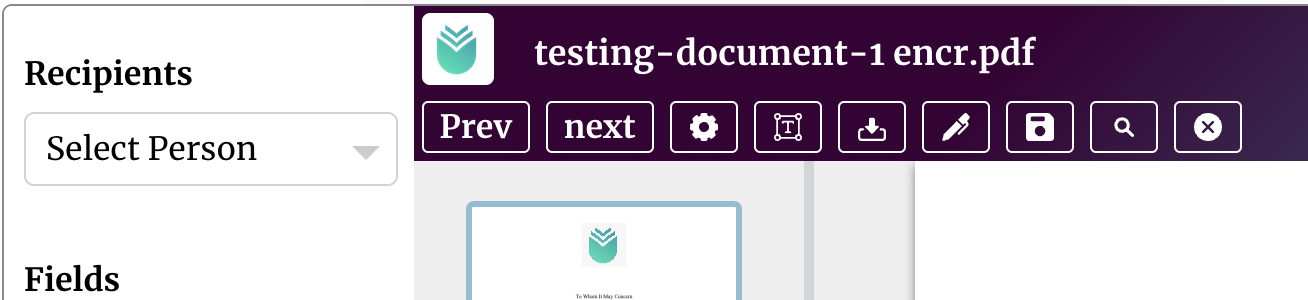
Adding Object Fields
You are able to add one of several types of object fields to documents - fields that identify sections of the document that should be edited by our platform. Object fields are added by simply dragging the object from the sidebar onto the document. After they have been added to the document the fields can be resized or dragged to other places on the page. Each object field must be assigned to a recipient where only the recipient can edit the object field. The author of the signature request can set parameters for the object field, but cannot use it to edit the document unless it is assigned to him/her.
Each object field has three sets of context menus.
- You can long press on the object to bring up the menu that allows you to do operations on the item itself such as delete, copy, cut, paste.
- You can also double click/tap on the field to change the settings associated with that field. You can change whether it is a required field, assign a category label, or change its appearance.
- Finally, when you select multiple objects (by drawing with your mouse or pinch with two fingers) you are able to bring up another context menu that allows you to apply group settings to all fields selected.
Here are the different types fields you can add, some of which may be unavilable depending on the subscription plan you have:
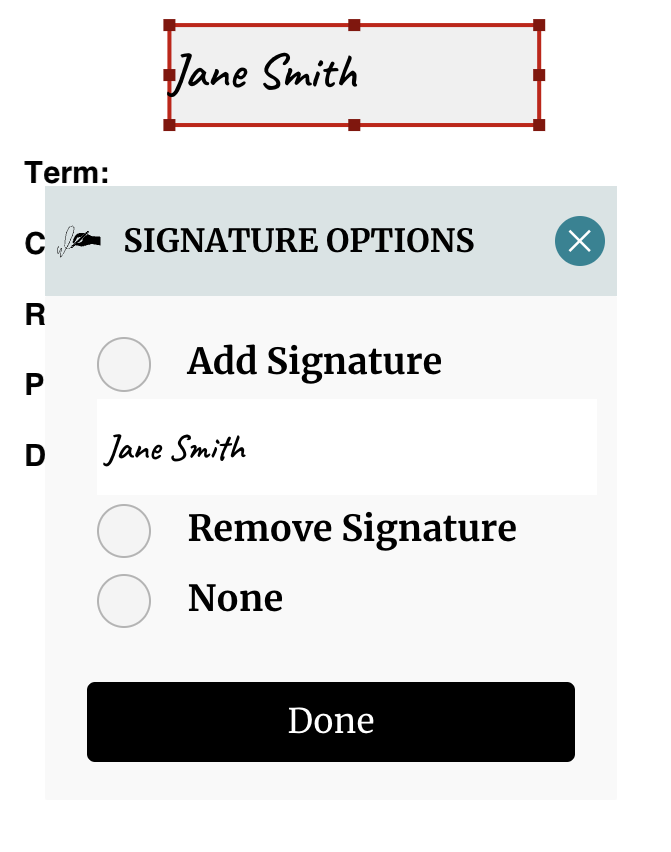
Signature Field:In order to add a signature field, the user must first select the recipient that the field will be attached to, then drag the Signature object from the side bar of the editor over to the specific location on the document that needs to be edited. If the user wants to draw his/her signature in the signature field, the user simply heads to the pen tool and click add a signature. The user can also double on the signature object to add his/her signature to the document. A user's signature can only be drawn into an object field that is assigned to him/her.
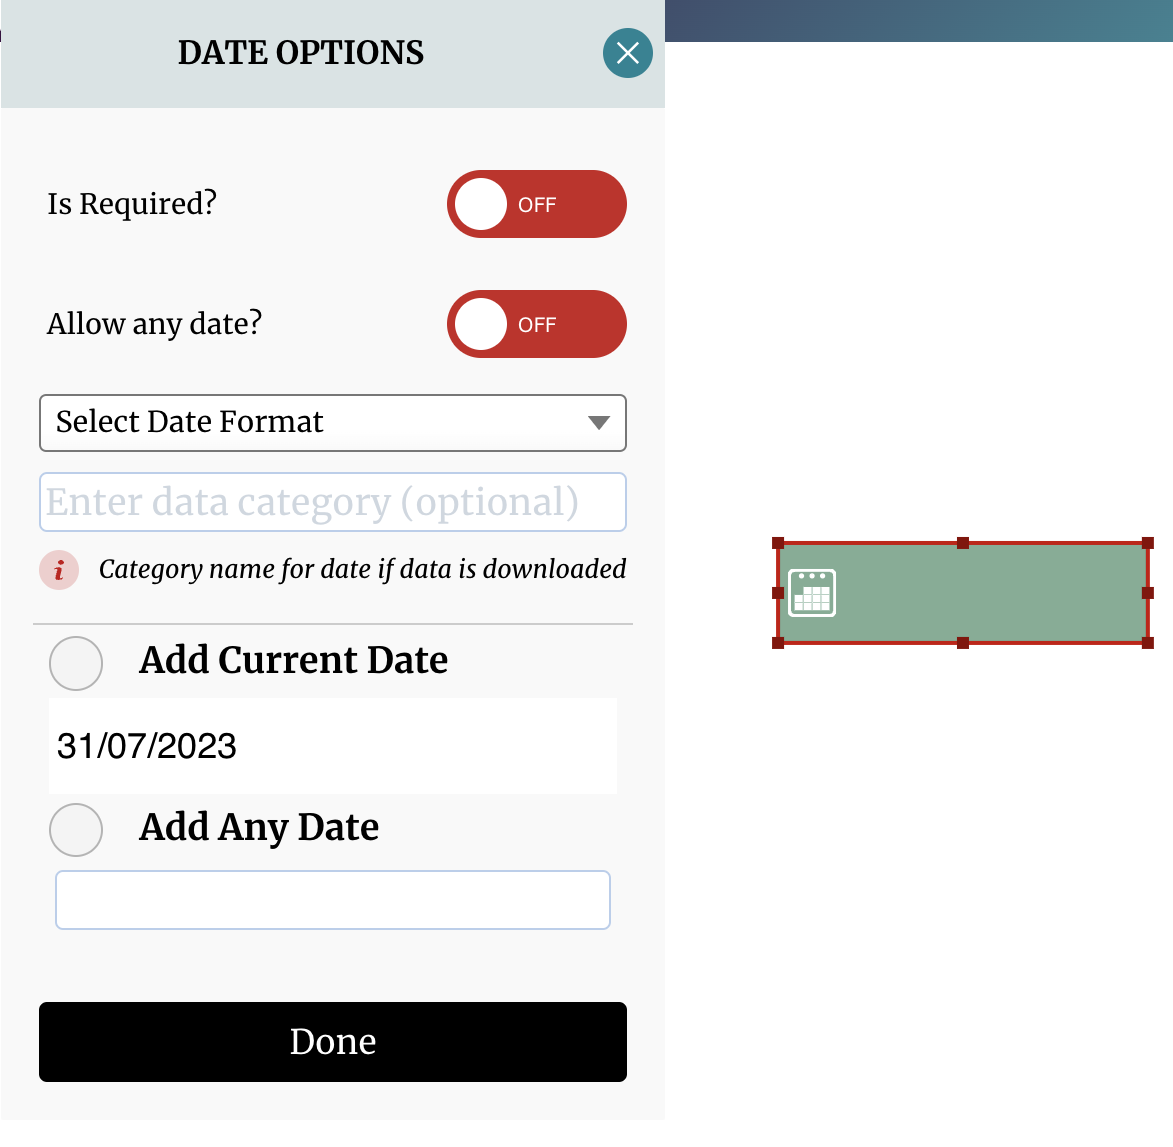
Date Field: After selecting the recipient that the field will be attached to, you simply drag and drop the date field onto the document. From there you can double click the element to change the settings associated with the date object. You can set whether the field is a required, whether any date or just the current date can be entered into the field, the date format, and the category label. Keep in mind that the default date format can be set from the settings page by going to Settings -> Account -> Date Time Format.
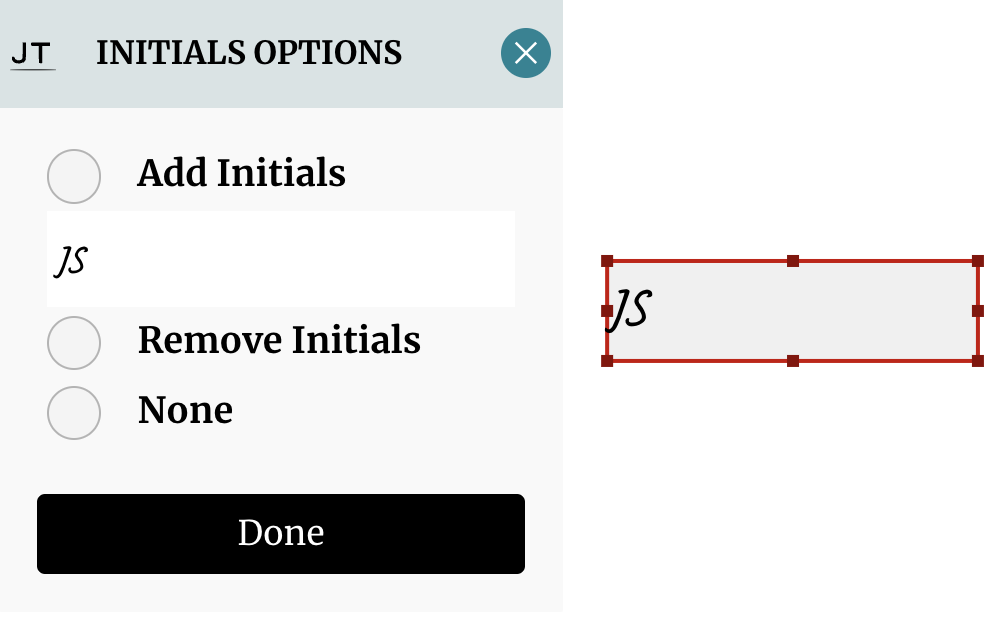
Initials Field: An initials field is added using a similar workflow as all the others, you select the recipient then drag and drop the initials field on the location in the document that you want the initials to be drawn. To draw an initial the user can use the pen tool or double click the initials field, create one and then add it to the document or add one that was previously created.
Recipient Email:This field allows the author to add his/her email address or that of any recipient that will view the document immediately before the document is dispatched. This done is by dragging the field onto the page.
Recipient Name:This similar to the Recipient Email field. This field allows the author to place any recipient name in the document just before it is dispatched to all recipients.

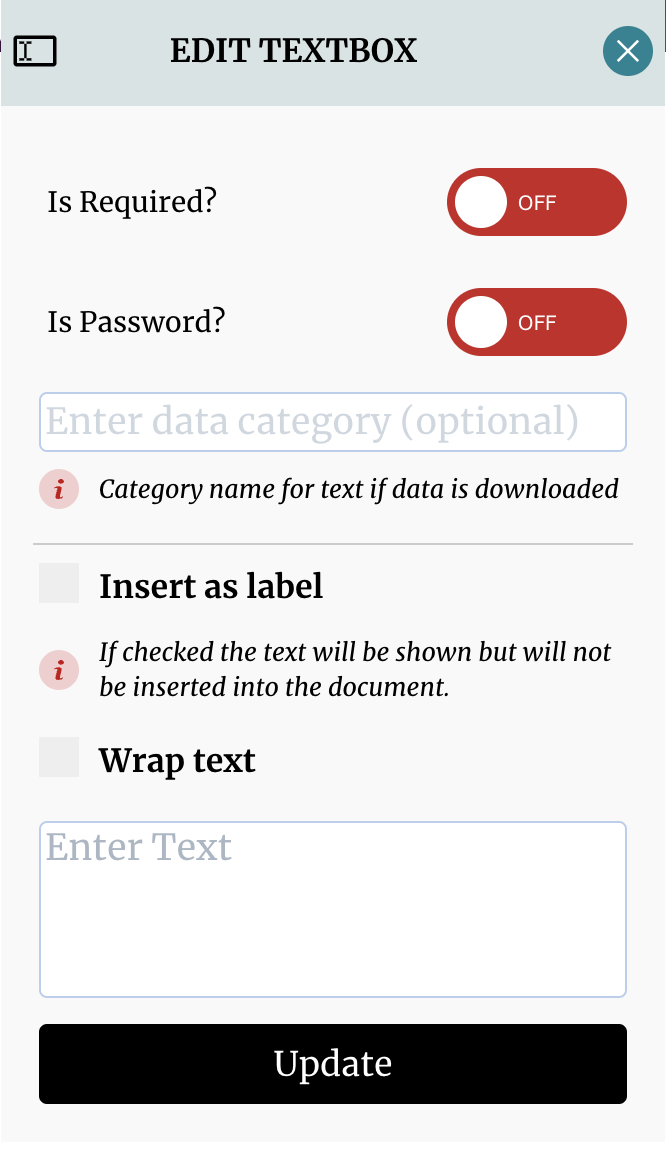
Text Field:Adding a text field is also similar to that of the other object fields. However, when adding a text field, you must determine a few additional options. You should double-tap/click the text field to open up the context menu and set whether this is required or optional, and also whether to treat the field as a password field which is will hide the characters as they are entered. If you check the box labelled "insert as label" you can enter any text in the text field but the text will not be added to the document. Text fields that are treated as labels only serve to provide instruction to the recipient/signatory as he/she adds information to the field, it also indicates to our platform that the text in the field should not be added to the underlying document. The wrap option determine the flow of the text, and its font size as you resize the text field to your liking.
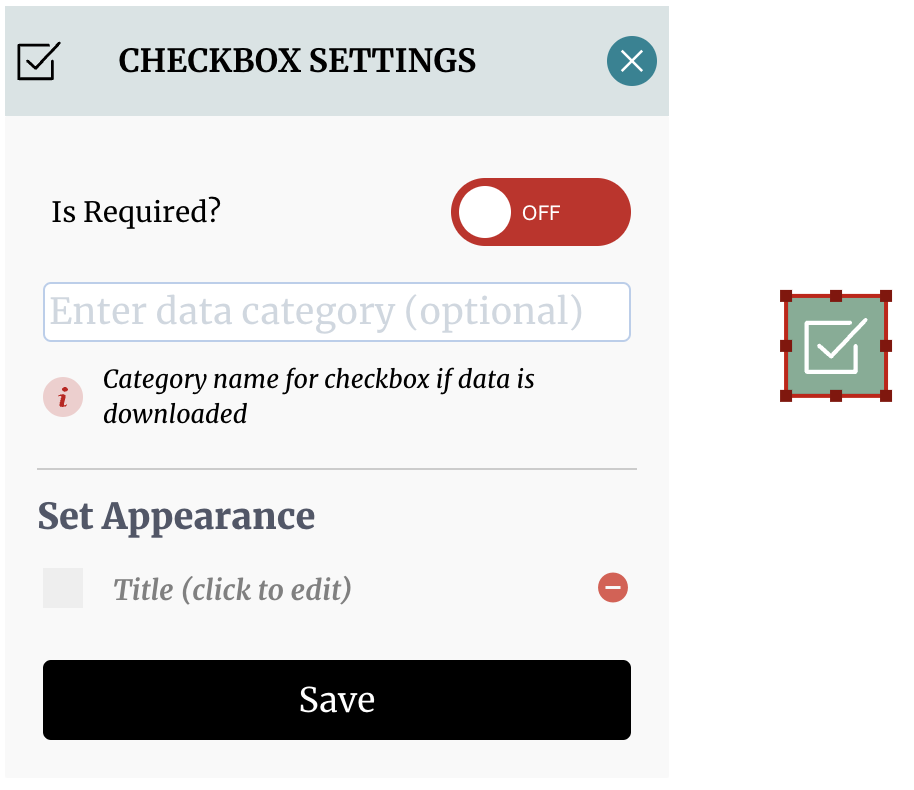
Check Box:Using a checkbox is similar to that of using a text field. To place one in the document the you simply drag the checkbox field onto the document at the location that you want it to be drawn. Upon doubling clicking the checkbox, the user will see a few options that includes whether to set the checkbox as a required field – the recipient would have to assign a value to this checkbox for the document to be considered complete. You can also attach a label to the checkbox by setting the appearance of the box, but you cannot change the checked state of the checkbox unless you are assigned to the checkbox as the owner. Of course, if you also want to set a category label for the checkbox you can do so. You can also group multiple checkboxes together as one item, and edit them all as a single entity.
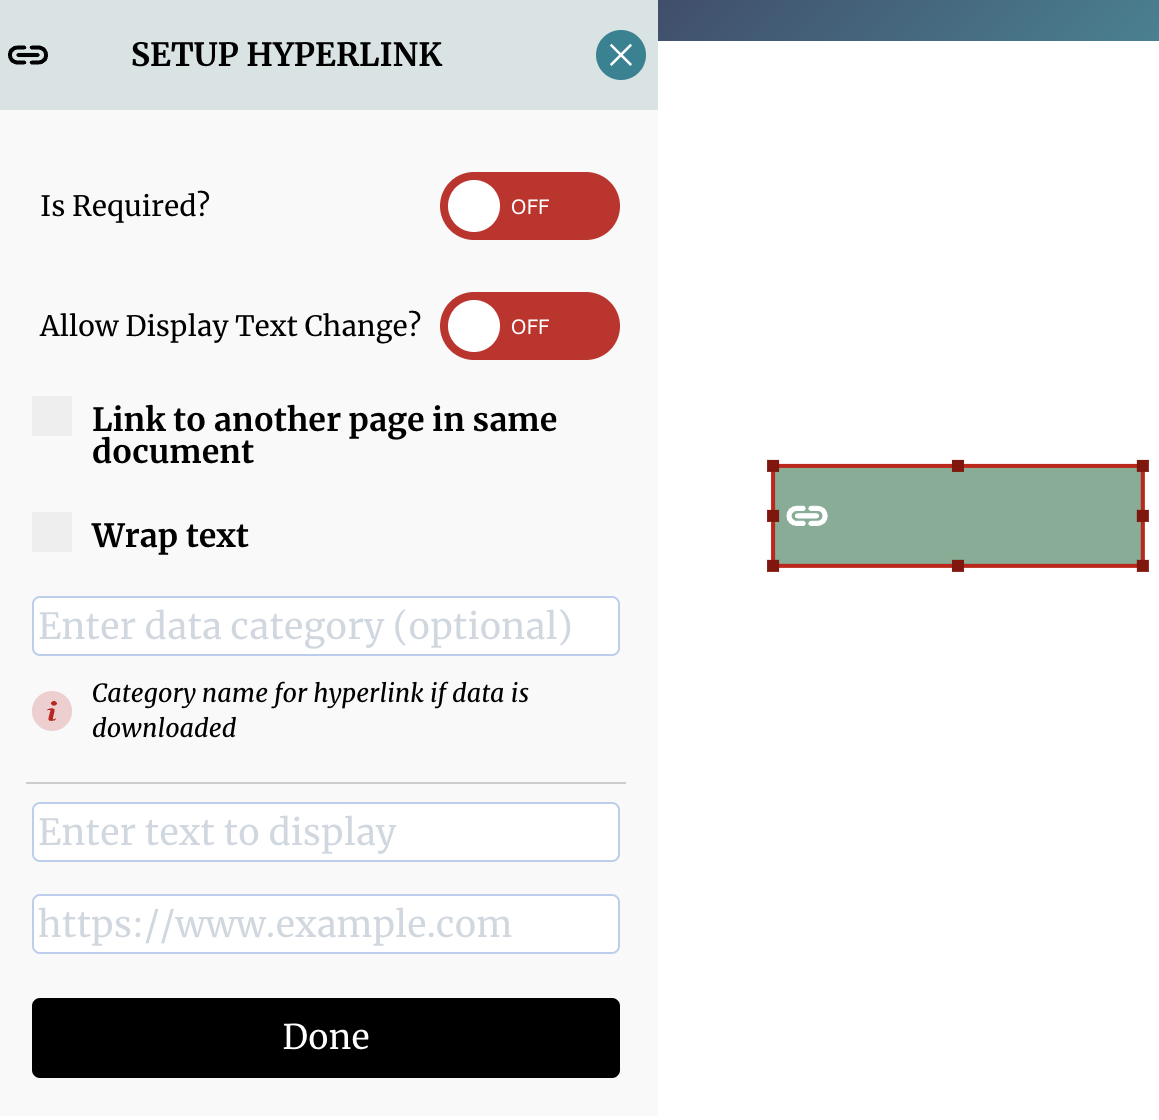
Hyperlink:Use a hyperlink when you want to link to another page in the document, or to an external document on the web. To place a hyperlink in the document the you simply drag the hyperlink object onto the document, and drop it at the location where you want it to be drawn. You should double-tap/click the hyperlink object to activate the context menu popup. Here you can determine whether the hyperlink is a required field. If you are assigned to the field as the owner, you can set the link and the display text that will be added to the document. Assign a category label if you will need to download the data later.
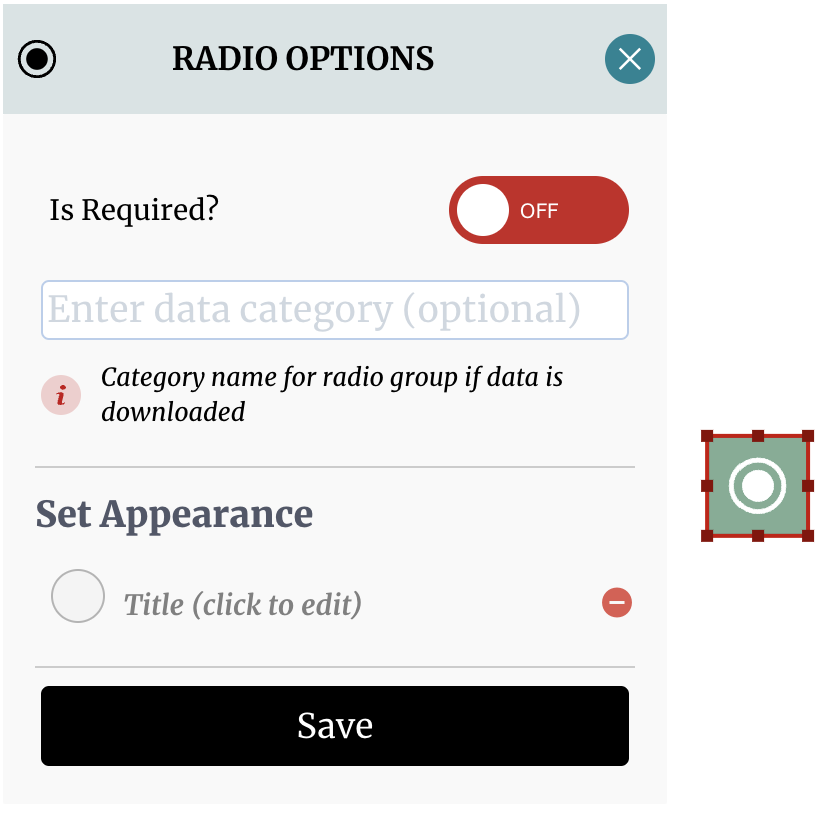
Radio Button:Adding a radio button is similar to that of adding a checkbox except that a radio button will be drawn in the document instead of checkbox. Like the checkbox field, Radio button fields on the same page can be grouped by dragging the mouse across all the fields.
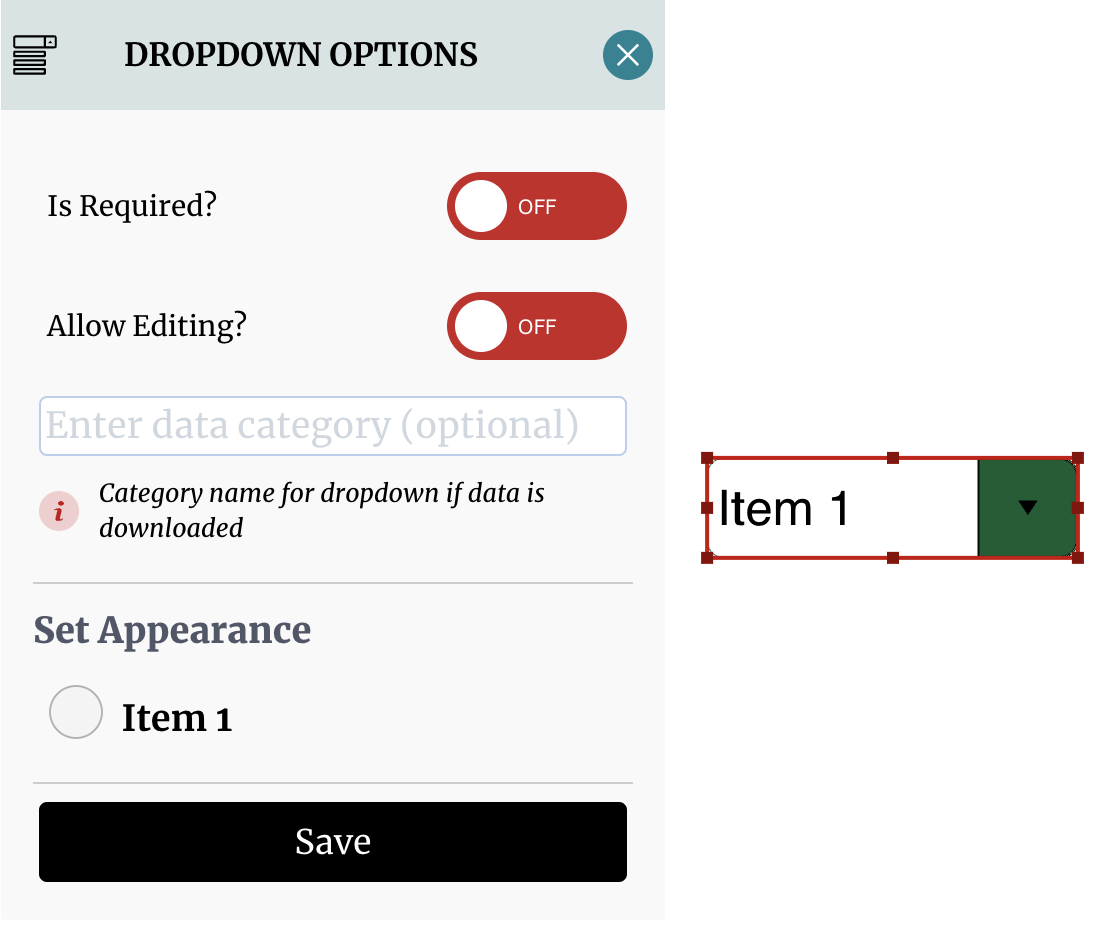
Dropdown:A dropdown field a different specie relative to all the other object fields. The only similarity here is that you have to drag the field onto the body of the document and drop the dropdown button at the location desired. After a dropdown is added to the document you are expected to add the options that will be seen when the recipient clicks the dropdown. This is done by double clicking the dropdown option and then setting the appearance. You can add any number of options you need, as well as set the initial selection of the dropdown by the ensuring that the label is checked for the respective option. You can set whether the dropdown is a required field and whether the recipient is allowed to add an option to the dropdown selection.
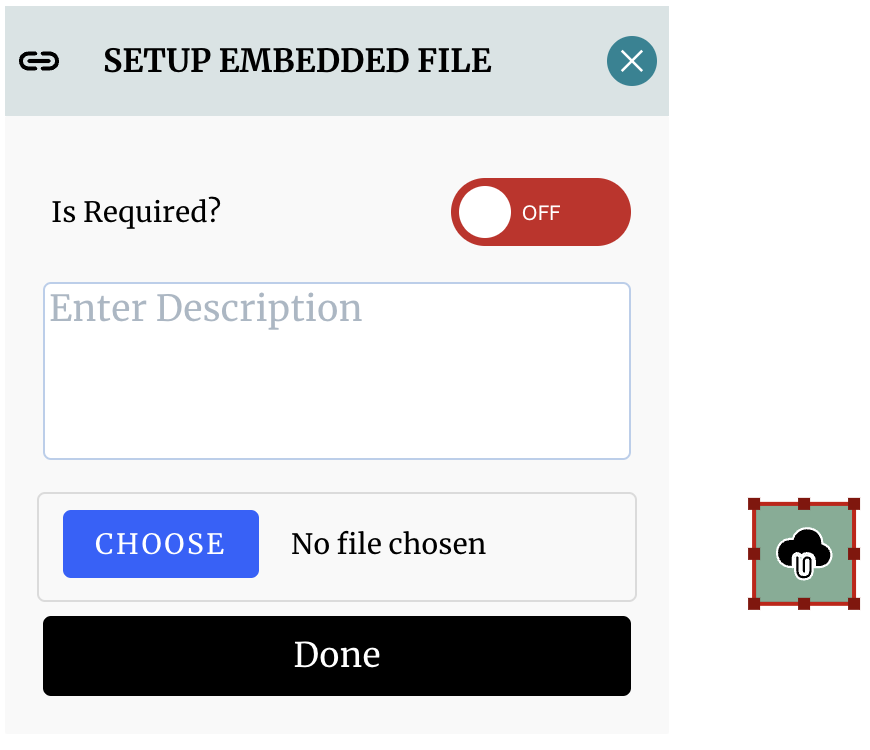
Embed a file:You can embed a file such as an excel spreadsheet, a text file, a CSV file or q word document. The maximum size of the file you can upload is about 3Mb. Keep in mind that this file will be stored in the document that you have elected to modify. To embed a file, the you simply drag and drop the object field to the desired location as usual, and then open the context menu by double clicking on the object field. Click upload on the context menu to upload a document, and enter a description of the object. As is the case with all the other object fields, only the owner assigned to the field can upload or add a description the field. The author of the request is always able to determine whether the object is required or not.
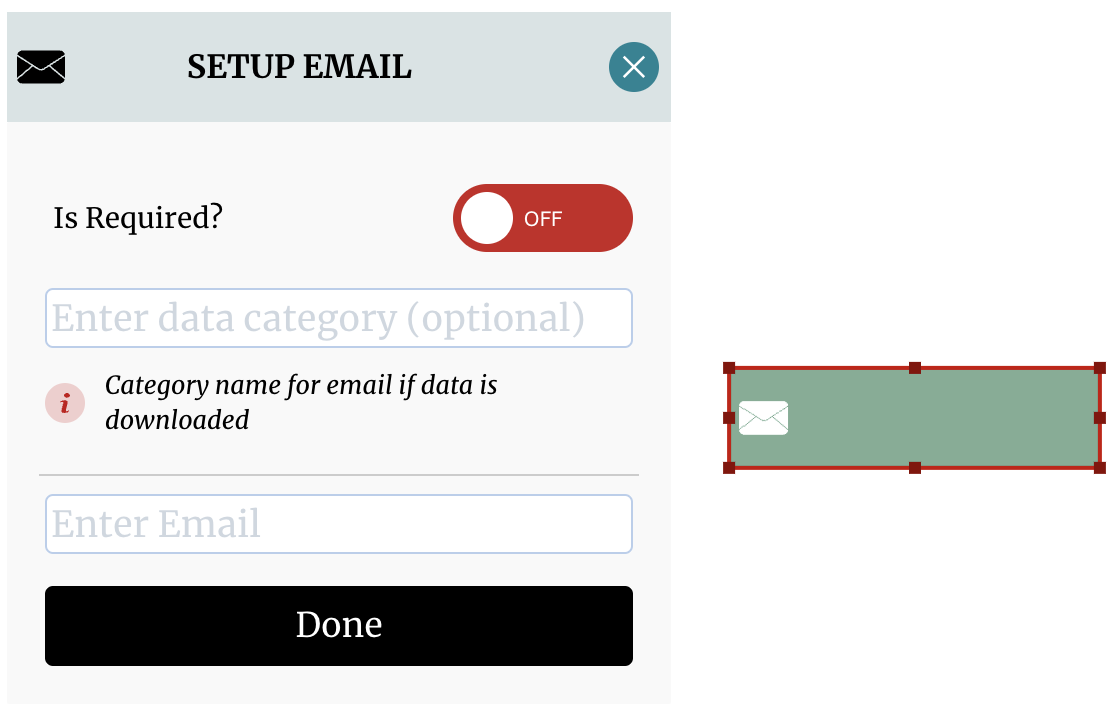
Email Field:The email field is similar to the text field except that it is much simpler and that it restricts user inputs to emails only. If anything except an email is entered into the field it will return an error.
Card Field:A card field allows the you to collect payments from your recipients - see section on collecting payments to see how this works.
Whether you're handling 10 documents or 10,000, our AI-powered signing assistant will save you time, reduce errors, and close loops faster.
© DocEndorse. All Rights Reserved
Resources