Company Logo
DocEndorse
Help
Get Started Get Started
Home Help Blog
  • Getting Started
    • Account Opening
    • Purchasing A Plan
    • Set Up Account
    • Adding A Digital Signature and Initials
    • Setting Permissions
    • Sending Your First Document Out For Signature
    • Self-Signing A Document
    • How A Recipient Signs A Document
    • How Does This Work
  • General
    • Managing Notifications
    • Handling PDF Copies
    • Customize date format and time zone
    • Set Up Branding
    • Set Acceptable Signature Types
    • How To Upload Documents
    • Password Protect Signing
    • Requesting Signer Attachments
    • Adding An Attachment To Requests
    • Ewitnessing A Document
    • Getting Documents Signed In Person
    • Tracking E-sign Requests
    • Handling Audit Trails For E-signatures
  • Users and Teams
    • Creating A Team
    • Invite New Users
    • Inviting New Team Members
    • Inviting New Members To A Sub-team
    • Sharing Documents With Team Members
  • Productivity
    • Creating A Template
    • Using A Template
    • Send Bulk Signature Request
  • Handling The Editor
    • Adding Object Fields
    • Resize, Remove, and Move Object Fields
    • Sign, Date, or Initial a Document
    • Setting Editor Layout
    • Approve or Disapprove A Document
    • Responsiveness of the Editor
    • Live Search Document
    • AI Powered Field Detection
  • Integrations
    • Integrations
    • Google Workspace Integration (DocEndorse Connect)
    • Connect With Office 365
    • Signing/Redacting Documents Within Microsoft Outlook
  • Collecting Payments
    • Connecting to Your Bank Account
    • Managing Your Payment Transactions
    • Preparing Documents To Collect Payments
    • Setting Up payments On Your Account
  • Managing Contacts
    • Adding A Contact
    • Editing or Deleting A Contact
  • Reports And Analytics
    • Get Reports
  • Managing Subscriptions
    • Managing Your Subscriptions
    • Cancelling Your Subscriptions
    • Updating Your Subscriptions
    • Updating Your Payment Method
  • Redact Documents
    • How to Redact A Document
    • Quickly Find and Redact Text
  • Managing Documents
    • Managing Your Documents
  • Using The Ai Agent
    • About Our AI Agent
    • Our Document Intelligence
    • Using the Ai E-sign Assistant

Adding Digital Signature and Initials

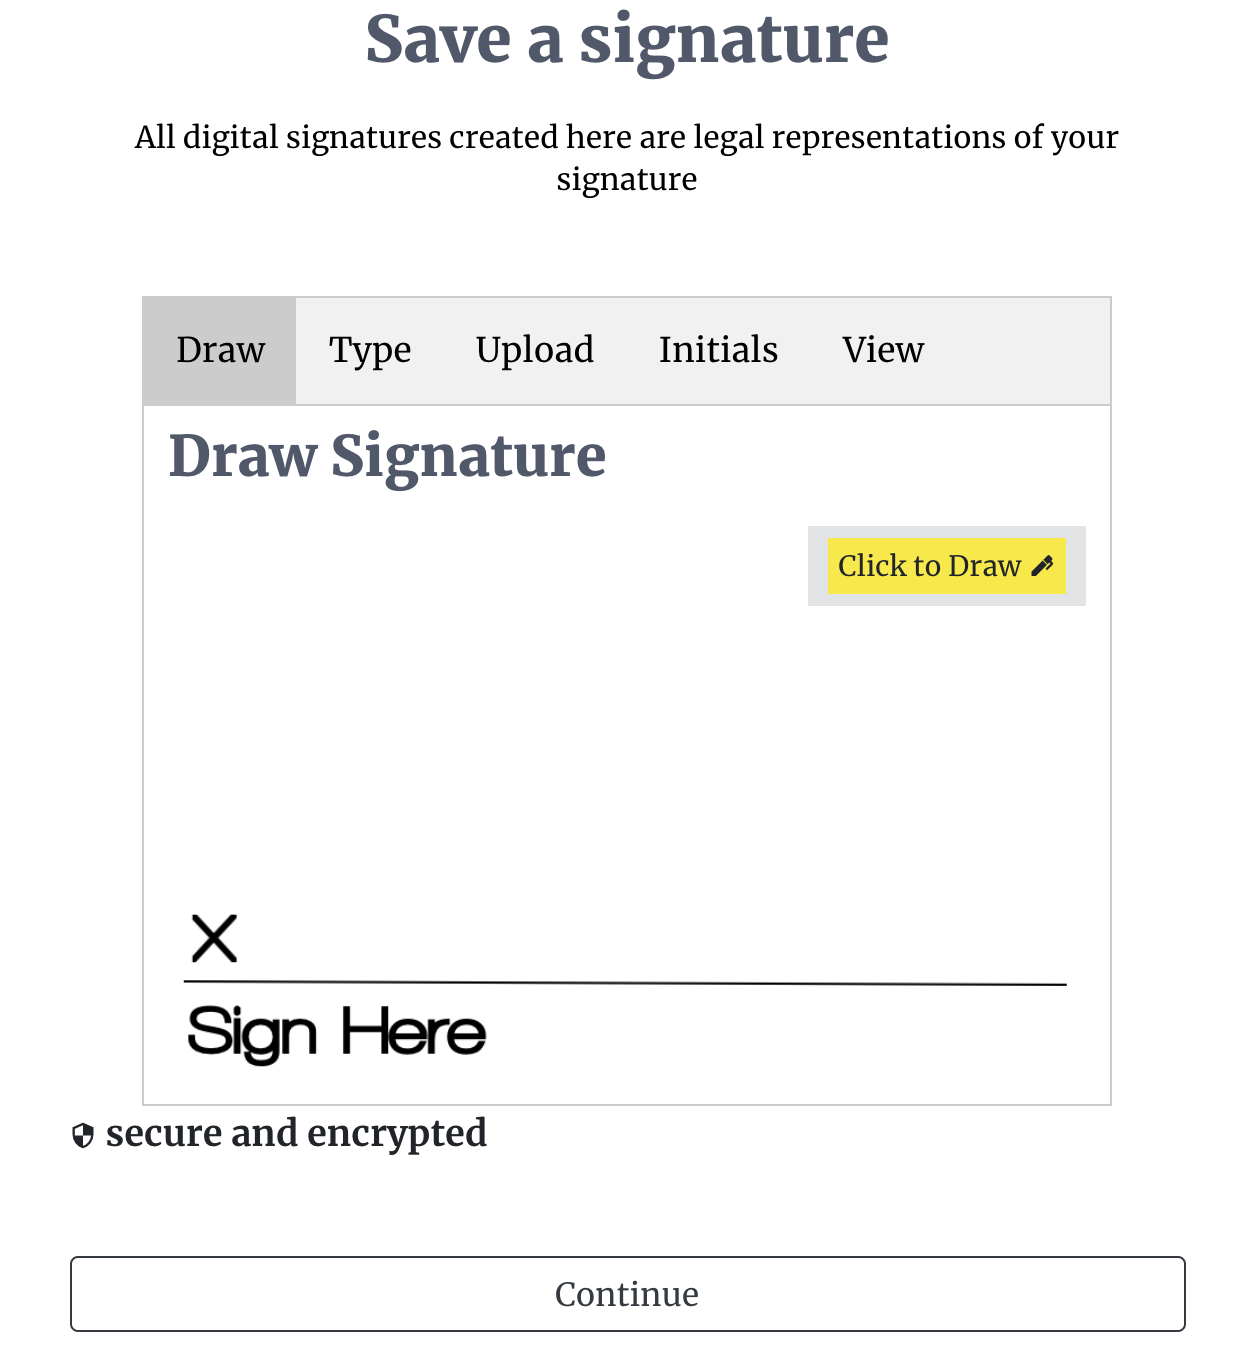
Once you have logged in to your account, you can use our signature panel to set a signature in one of three ways, which include:

  • drawing a signature by hand or a stylus pen on a mobile device or a laptop;
  • uploading an image of your signature; or
  • typing out your signature.

When uploading a signature, it is best practice to choose an image that has a transparent background. You can upload an image file that is either a .jpeg, .jpg, or .png. Our signature panel also allows you to type in your signature in a preferred font.

At this point, we only accept text-based initials.

Our signature panel can be accessed from the "hub" page. Depending on whether you are on the AI-agent plan or legacy plan. On the AI-agent plans you can access it from the green menu button at the top right of the hub page. If on the legacy plan you just simple click the signature icon on the right side of the page.

Add Signature Page

Company Logo

Whether you're handling 10 documents or 10,000, our AI-powered signing assistant will save you time, reduce errors, and close loops faster.

© DocEndorse. All Rights Reserved

Connect with us:
Facebook Twitter

Product

Pricing
Features
Book a demo
E-sign For Free
Integrations

Resources

Legal
Compliance
Help Center
Blog

About

Contact
Privacy
Terms