How to Upload Documents
DocEndorse allows you to upload documents directly from your device or import them from a connected cloud storage provider.
Upload from Your Device
If you are using one of our standard or legacy workflows, you can upload a document in either of the following ways:
- Drag and drop the document onto the upload area.
- Click Upload and select a file from your device.
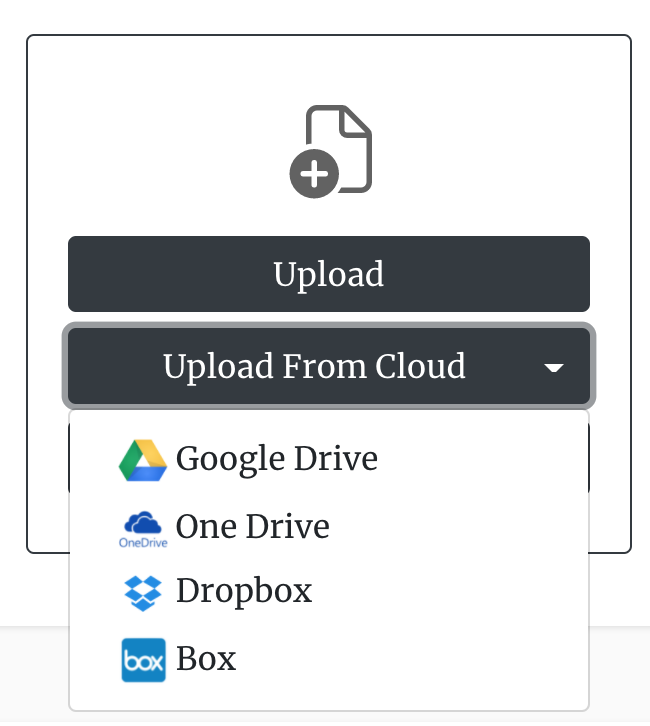
Upload from Cloud Storage
You can also import documents directly from supported cloud storage providers, including:
- Dropbox
- Box
- Google Drive
- OneDrive
Click Upload From Cloud and select the cloud storage provider you want to use. You may be asked to authenticate with the relevant provider before you can browse your files and select the documents you want to upload.
Uploading and Finding Documents with the AI Agent
If you are using the DocEndorse AI agent, click the + button in the chat composer. This gives you the option to upload a document directly from your device or select a file from a connected cloud storage provider.
The AI agent can also search connected cloud storage services directly. For supported integrations, including Box, OneDrive, and SharePoint, you can simply ask the AI agent to find a document without manually browsing through your folders.
For example, you could ask:
“Find the latest tenancy agreement for John Smith in OneDrive.”
The AI agent can search the connected service, identify relevant documents, and retrieve the appropriate file for use in your e-signature workflow.
This makes it possible to work with documents stored in your cloud services without first having to manually download and upload them to DocEndorse.
If you are using the AI agent through a third-party chat platform such as Microsoft Teams, Slack, or Telegram, follow that platform's instructions for attaching or uploading files.
Bulk Upload
You can upload multiple documents at once from the Documents page. This is useful when you need to add a large number of documents to your account before using them in an e-signature workflow.
There are two ways to upload documents in bulk:
- Select multiple files: Choose multiple files from your device and upload them together.
- Upload a ZIP file: Select a ZIP file containing multiple documents. DocEndorse will process the files contained within the ZIP archive and add them to your Documents page.
Once uploaded, the documents will be available from the Documents page, where you can view and manage them and use them in your e-signature workflows.
Supported File Types
DocEndorse supports a range of common document and image formats, including:
- PNG images
- Bitmap (BMP) images
- Microsoft Excel files
- Microsoft PowerPoint files
- PDF files
- Microsoft Word files
- OpenDocument presentations
- OpenDocument spreadsheets
- OpenDocument text documents
Where required, uploaded files are converted to PDF before being encrypted and securely stored in a private vault on our servers.
You can manage your uploaded documents from the Documents page, where you can access the available options for viewing, organising, and using your files in e-signature workflows.

Whether you're handling 10 documents or 10,000, our AI-powered signing assistant will save you time, reduce errors, and close loops faster.
© DocEndorse. All Rights Reserved


Resources