Creating A Template
With some of our plans, you can create templates that can be re-used an unlimited number of times. Templates can also be used when someone needs to send out e-signature requests in bulk - to send a signature request to 10 to 300 people in one go
You can create a template by using our autonomous AI e-signature assistant or the legacy workflow approach. The legacy approach involves initiating a template creation workflow by logging into our website, navigating to the hub page, and clicking on the "create a template" link on the hub page, which will launch a 4-step process. If the link is not visible, use the menu button at the top right section of the hub to expose a flyover menu and access the link from there. The steps are:
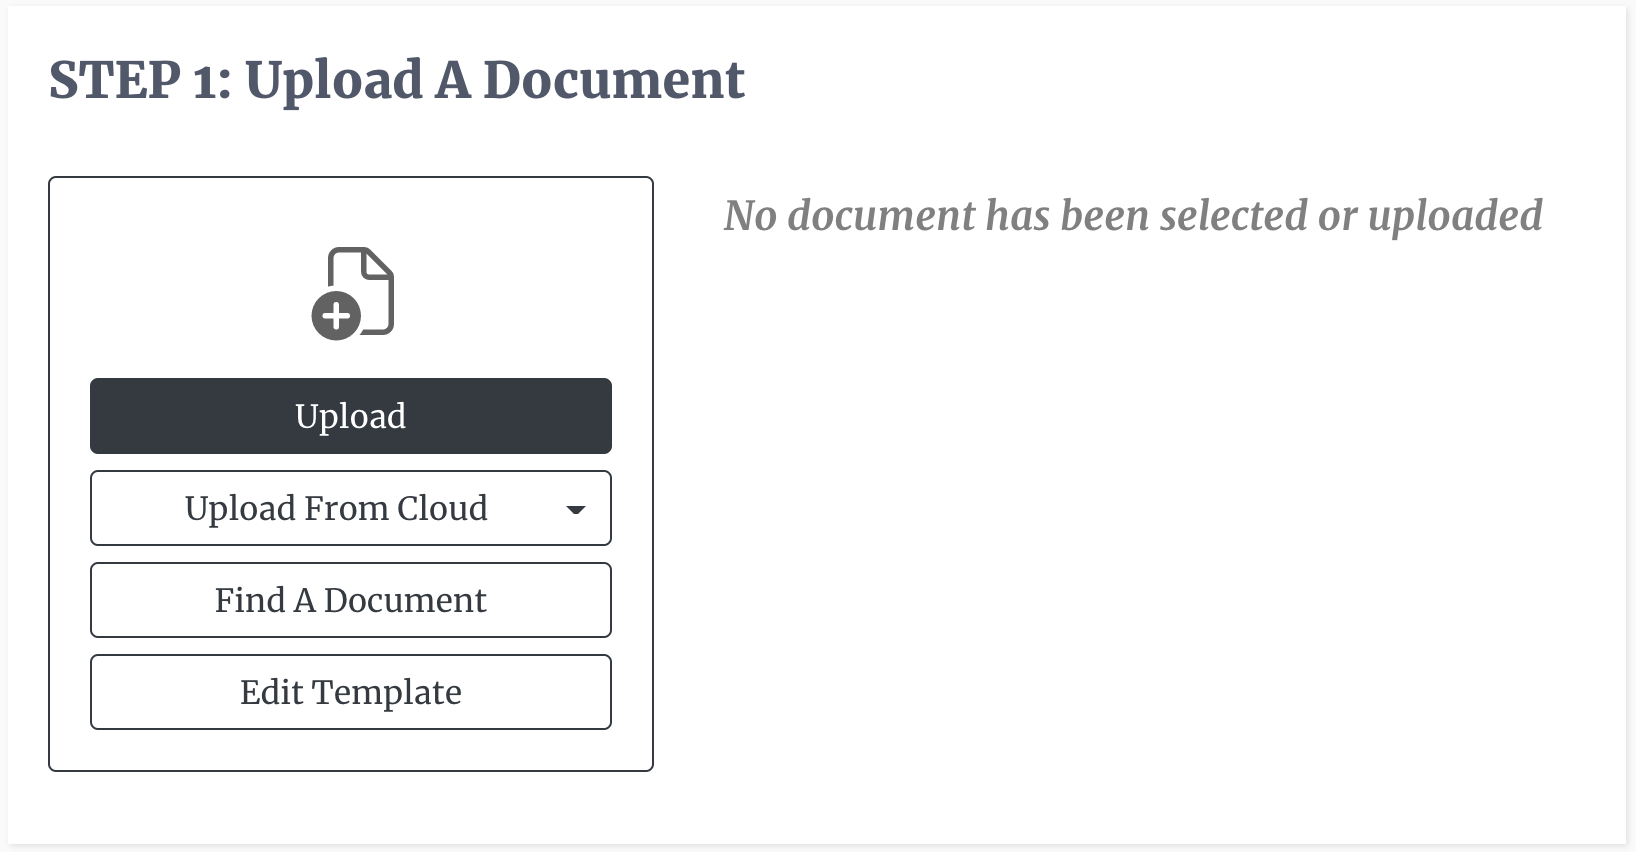
- Upload the document that you want to use in the template, or edit a template that was already saved. The documents can be uploaded from your desktop, mobile device, or a third-party cloud provider (see How To Upload Documents).
 2. Add recipients. Here the you will classify the recipient(s) by function or role. For example, you can add a buyer and a seller, or a landlord and a tenant. While classifying the signatory, you can also determine the role the signatory will play just as you would do when creating a signature request (must sign, Cc, Bcc or fill only). You are also able to set the order in which the recipients must sign when the template is used in production.
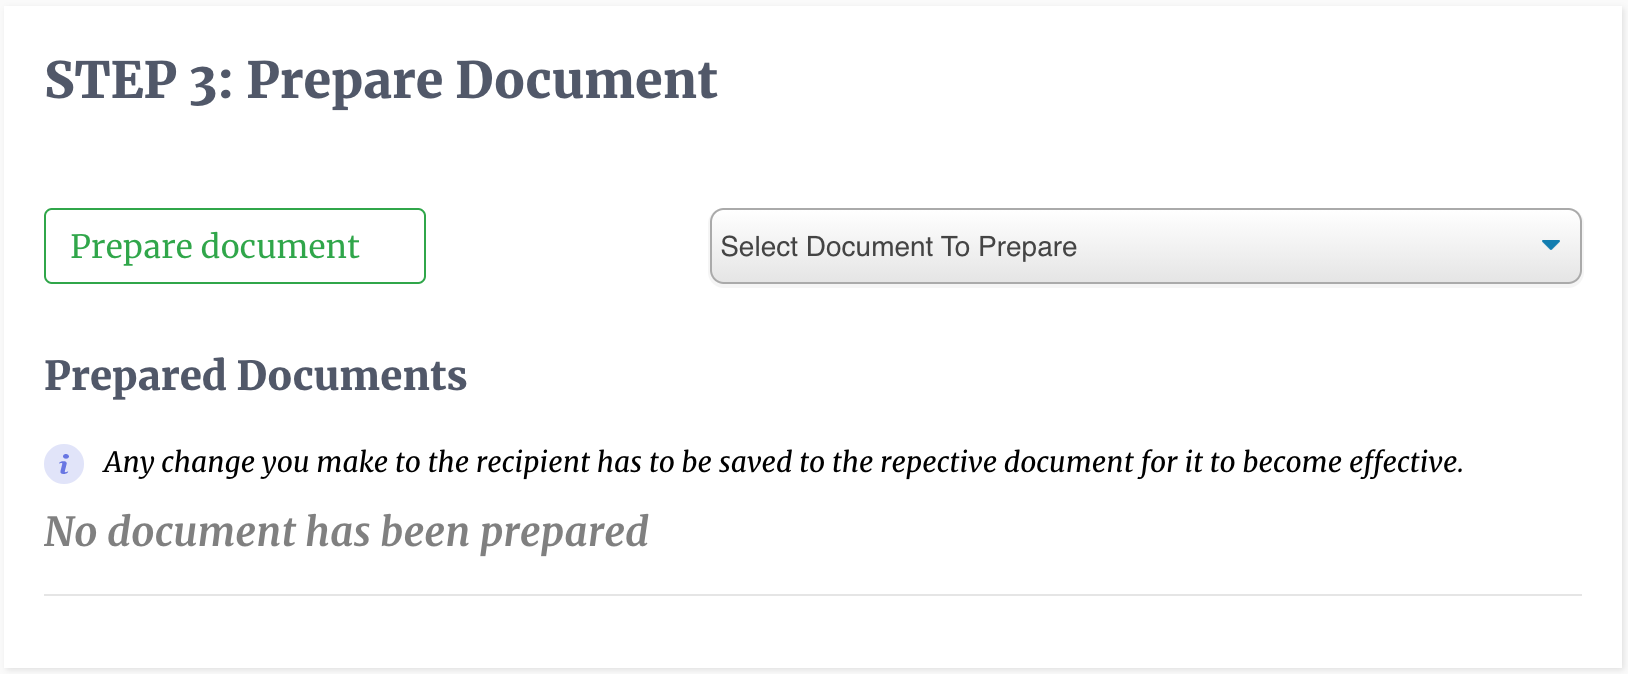
 3. The third step is similar to the third step of Sending Your First Document Out For Signature. You will have to prepare the document for the data that you expect to get from the signatory. You must select the document that you want to edit and then click the "prepare document" button. This button launches DocEndorse's editor, which, through a drag and drop mechanism, you can identify parts of the document that require a signature, a date, an initial, additional text, or a checkmark (see Adding Object Fields for a complete discussion of the full functions and features of the editor). You must then save all the changes that have been made and then close the editor. The modified document should then show up under Prepared Documents with a green tick mark.
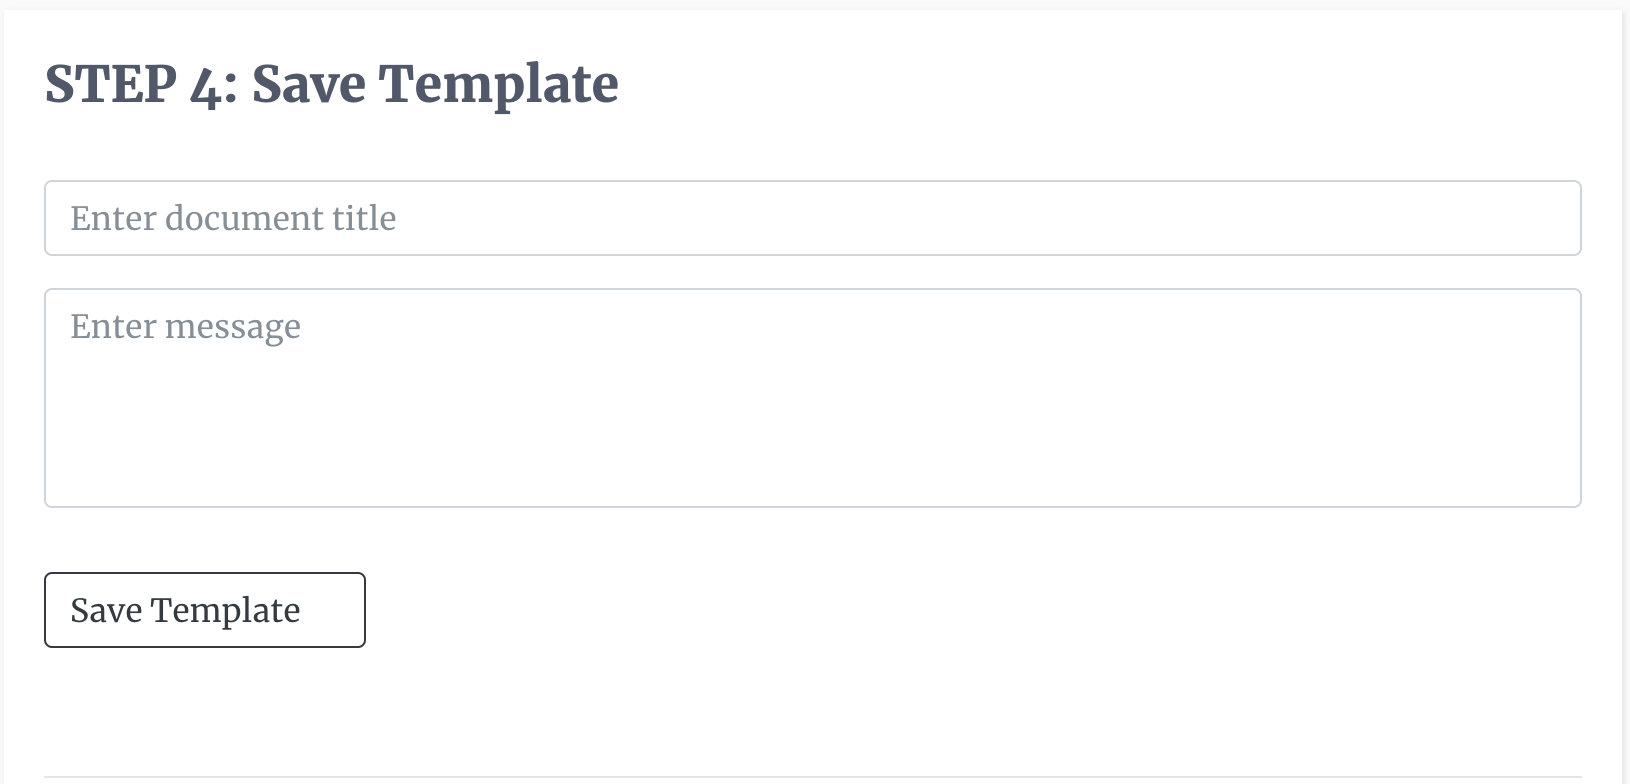
 4. You must enter a unique title for the template and a message to be sent to each recipient, if needed, and then save the template for later use.
Our autonomous AI e-signature assistant provides an easier and more interactive approach that guides you through the process step by step, generally in the same order. To start the process, you go to the hub page and say, "How do I create a template?", "I want to create a template", "Create a template for me," or any variation of this instruction.
If you are using a third party chat assistant such as Microsoft Teams, or Slack, you would enter the same instructions in the chat window and follow the asistant's guide. Keep in mind that you must login to our platform from the third party app before you can start workflows there.
Whether you're handling 10 documents or 10,000, our AI-powered signing assistant will save you time, reduce errors, and close loops faster.
© DocEndorse. All Rights Reserved
Resources